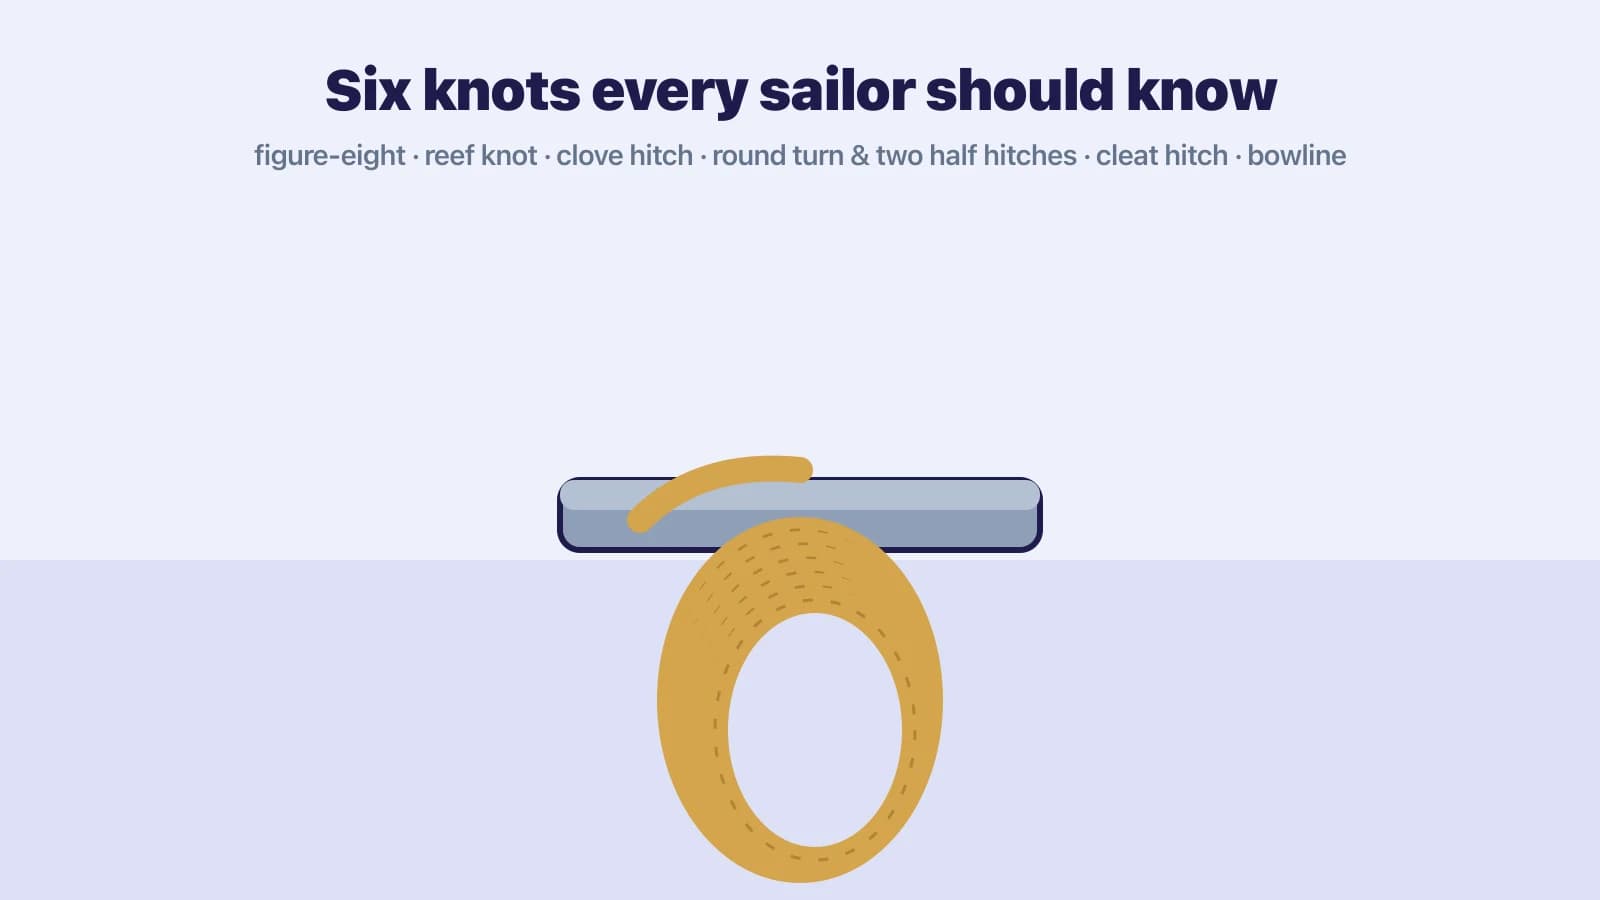
Beginner keelboat courses and Day Skipper-level seamanship examine a small set of knots, because a small set does almost every job on a yacht. The six below are the six named in the American Sailing ASA 101 standard; US Sailing's Basic Keelboat list is a subset of them. For each you should know three things: what it is for, how to tie it without looking, and how it fails.
A single rope with its standing part, working end and a loop labelled.
1. Figure-eight — the stopper knot
Tied in the end of every sheet and halyard to stop it running out through a block or clutch. Make a loop, pass the working end behind the standing part and back down through the loop — the finished knot looks like an 8. It is bulkier than an overhand knot, which is the point, and it is generally much easier to untie after loading than an overhand knot, though a figure-eight that has been heavily loaded in wet small-diameter line can still need working loose.
How it fails: by not being there. The moment a sheet runs out through the block in a gust is when you find out whether your crew tied the stopper knots. Tie it a hand's width from the end so it cannot pull through.
2. Reef (square) knot — tying two ends of the same rope
Left over right, then right over left, so that both parts of each end lie together on the same side of the knot. It is the knot for reefing pennants and sail ties, for a sail cover, for bundling a coiled line — jobs where the rope goes around something and is tied to itself, and where the load is light and steady.
How it fails: it is not a bend. Used to join two separate ropes, especially of different size or stiffness, a reef knot can capsize into a slipping hitch under load and spill. Do not use it to join ropes and do not use it for anything that would matter if it let go. The half-tied version — a granny knot, with the second crossing the same way as the first — jams and slips and is the classic beginner mistake.
3. Clove hitch — a quick, adjustable hitch
Two turns around a rail or post, each passing over the one before, so the working end finishes trapped under the second turn. It is the fastest way to hang fenders from a guardrail and it can be adjusted without untying, which is exactly what fenders need. It can also be tied in the bight and dropped over a post.
How it fails: it can slip when the load comes from a changing direction or the rope is slippery, it can roll along a rail, and it can jam under heavy load. It is a fender knot and a temporary knot, not a mooring knot. If it must stay put for a while, add a half hitch with the working end around the standing part.
4. Round turn and two half hitches — securing to a ring or post
A full round turn around the object, which takes most of the load by friction, then two half hitches around the standing part, both in the same direction, which lock it. This is the knot for tying a dinghy painter to a ring, a line to a post when the direction of pull will vary, or a fender to a rail when you want it to stay put.
Because the round turn carries the strain, you can control a loaded line while you tie the hitches, and you can usually ease the hitches off under moderate load — a real advantage over a bowline, which cannot be untied while loaded. That advantage has limits: under heavy, sustained load the half hitches bind, and releasing a heavily loaded line by untying a knot next to your fingers is a bad idea whatever knot it is. Surge it around a cleat or winch instead.
How it fails: rarely, if you take a full round turn rather than a single pass and tie both half hitches the same way. Its weakness is that it needs the end of the rope, so it cannot be tied in the bight.
5. Cleat hitch — belaying to a horn cleat
Lead the line to the far horn first, take a full turn around the base of the cleat, then figure-eight turns over the horns, and finish with a single locking hitch that lies parallel to the previous turn. Used for mooring lines and halyards on cleats. The full turn at the base takes the load; the figure-eights add friction; the locking hitch stops it shaking off.
How it fails: by being over-tied — extra turns and locking hitches until it cannot be released quickly — or by making the locking hitch cross the previous turn so that it jams. One locking hitch is enough. A mooring line you cannot slip in a hurry is a hazard, and on some boats and in some marinas the convention is no locking hitch at all on lines that may need to be surged.
6. Bowline — a fixed loop
Use it whenever you need a loop that will not close up under load and will still untie afterwards: sheets onto the clew of a jib, a line around a mooring post or through a ring, a loop to drop over a bollard. The classic teaching line — the rabbit comes out of the hole, round the tree and back down the hole — describes the small loop in the standing part, the working end passing up through it, behind the standing part and back down through the loop.
How it fails: a bowline can work loose when it is repeatedly loaded and unloaded, and it can shake out in stiff or slippery modern rope, particularly when the tail is short. Leave a long tail, and for anything that will cycle between load and slack — a tow, for example — back it up with a stopper knot in the tail or use a different knot. It also cannot be untied while loaded.
Bonus: sheet bend — joining two ropes
The bend for joining two ropes, including ropes of different thickness. Make a bight in the thicker rope; pass the thinner rope up through it, around behind both parts of the bight, and tuck it under itself. Both tails should end up on the same side. A double sheet bend, with a second turn around the bight, is more secure in slippery rope. It is not in the ASA 101 list but it is the answer to “how do I join two ropes?”, which the reef knot is not.
How it fails: it can work loose when the join is not under load, and it is not ideal for ropes that will be loaded and unloaded repeatedly. It is a good choice for attaching a light heaving line to a heavier warp, or for extending a line temporarily. For a mooring line that will be left cycling with the tide, use two lines made fast separately rather than any knot in the middle.
Which knot for which job
| Job | Knot |
|---|---|
| End of a sheet or halyard | Figure-eight |
| Reefing pennant, sail ties, sail cover, tying off a coil | Reef knot |
| Fenders on a guardrail | Clove hitch (adjustable) or round turn and two half hitches (secure) |
| Dinghy painter to a ring | Round turn and two half hitches |
| Mooring line to a cleat | Cleat hitch |
| Sheets to a jib clew; a loop over a bollard | Bowline |
| Joining two ropes, especially of different size | Sheet bend (double if slippery) |
Check yourselfYou need to join a thin heaving line to a heavy mooring warp so the shore party can pull the warp ashore. Reef knot or sheet bend, and why?Show answer
Sheet bend. A reef knot joining two ropes of different size can capsize into a slipping hitch and spill under load; a sheet bend (or double sheet bend in slippery line) is designed for exactly this join. Once the warp is ashore, make it fast on its own — do not leave the bend as part of the mooring.
Key takeaways
- Six knots cover the beginner keelboat syllabus: figure-eight, reef knot, clove hitch, round turn and two half hitches, cleat hitch, bowline. The sheet bend is the seventh worth knowing.
- Match the knot to the load: adjustable and temporary (clove hitch), secure and releasable (round turn and two half hitches), fixed loop (bowline), stopper (figure-eight), tying a rope to itself (reef knot), joining two ropes (sheet bend).
- Every knot has a failure mode. Know it, and never use a knot for a purpose its failure mode rules out.
- Rope around a person is not safety equipment. Use the harness, tether and sling the boat carries.